Why Film Breach Repair Is Urgent — Not Optional
The Timeline of Spoilage After a Film Breach
The stretch film wrapped around a Silageballenpresse-produced bale is the sole barrier between the preserved anaerobic environment inside and the atmosphere outside. When that barrier is breached — whether by a bird beak, a sharp stone, a loader tine, or UV-induced cracking — oxygen enters at a continuous rate proportional to the size of the breach. What begins as a small localised oxygen entry point expands over days and weeks into a growing aerobic spoilage zone as yeasts and moulds consume dry matter, generate heat, and produce mycotoxins in the oxygen-rich micro-environment around the breach.
The timeline of spoilage after an unrepaired breach is temperature-dependent but consistently rapid. At 25°C — a common Australian ambient temperature during the peak silage storage period — a 10mm bird-peck hole can produce a visible mould colony 3–5 cm in diameter within 5–7 days and an aerobic spoilage zone 15–25 cm in diameter within 3–4 weeks. At 35°C, these timelines halve. By the time most monthly inspection routines would discover an unrepaired breach from the previous month, the spoilage zone may extend 30–50 cm beyond the breach point — significantly larger than what the repair tape alone can address even when applied at discovery.
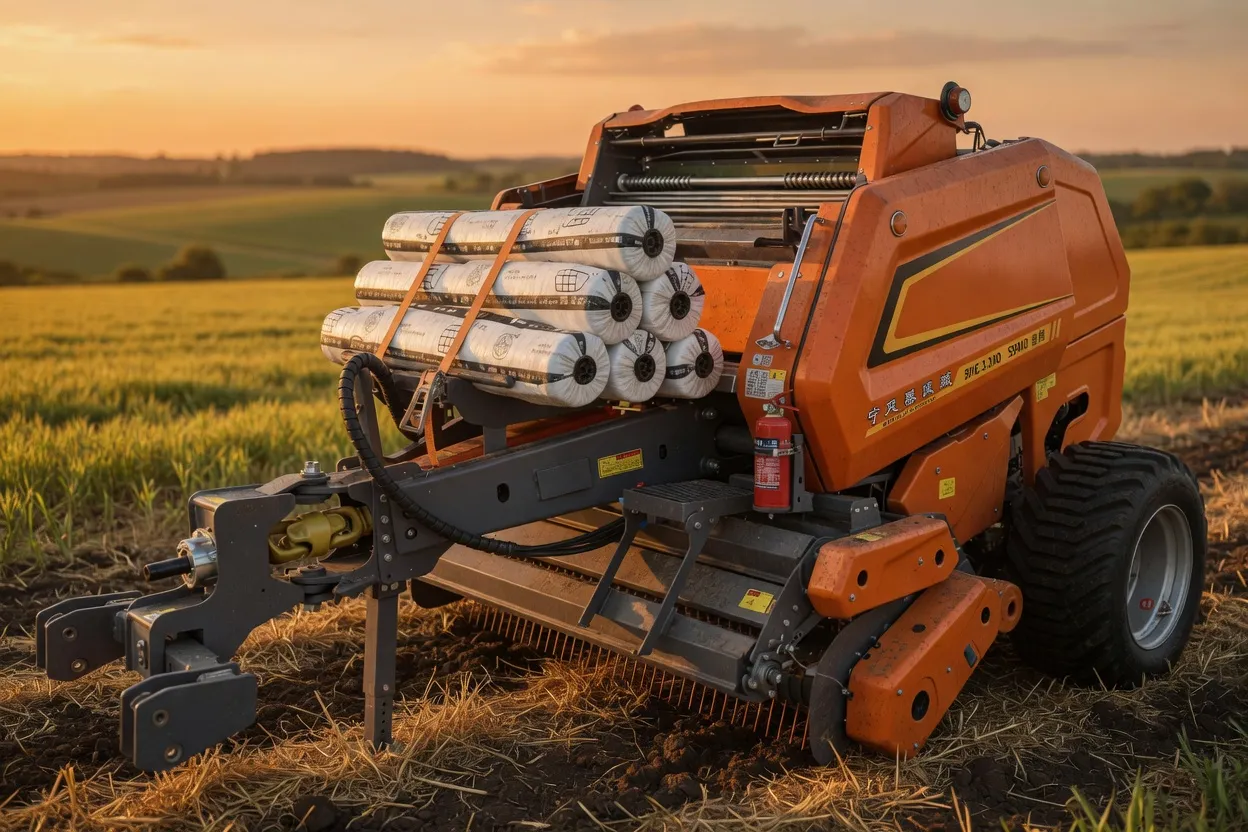
This is why breach repair must happen the same day a breach is discovered — not at the end of the inspection walk, not the following morning, and not at the next convenient opportunity. Every repair kit carried on every inspection, and every operator understanding that a discovered breach is an immediate task rather than a noted item for later, is the operational discipline that separates operations that maintain silage quality through the storage period from those that experience persistent spoilage losses. For the full range of Ever-power silage balers whose bales this guide protects, visit the product pages.
Identifying Every Type of Film Breach
What Each Damage Type Looks Like and How to Find It
Different types of film breach have different appearances and require slightly different repair approaches. Correctly identifying the breach type also helps diagnose the source and implement prevention to stop the same damage occurring to other bales in the storage site.
🦜 Bird-Peck Holes (most common)
Appearance: Small round or oval holes 5–20mm in diameter, usually on the top surface of the bale. Often appear in clusters of 2–5 holes within a 30cm radius — birds typically peck multiple times in the same location. The film around the hole may be pulled inward or torn at the edges. Often accompanied by: claw scratch marks radiating from the hole, bird droppings nearby, or feathers at the site. Look at all bale top surfaces systematically during inspection — a single bird event can affect multiple adjacent bales.
🪨 Ground-Debris Punctures
Appearance: Small, often star-shaped or irregular puncture at the bale base contact zone — not visible without moving the bale or inspecting underneath. Evidence: visible mould at the bale base when the bale is moved, or film that appears depressed into the soil at the contact point. Prevention for future: clear all sharp material from the storage site before bales arrive — this damage type is entirely preventable by site preparation.
🚜 Loader/Handling Damage
Appearance: Linear tears, often 50–200mm long, typically on the bale ends or at the bale circumference where a spike or tine has contacted the film. May also appear as a clean round hole from a spike tip. Usually most visible on bale ends where spike contact is most common during bale transport. When found: check both ends of the bale and the lateral surfaces within 30cm of the ends — handling damage is rarely limited to a single contact point.
☀️ UV Cracking / Generalised Degradation
Appearance: Fine network of surface cracks across the upper film surface, often associated with visible chalking or whitening of the film. Not a single breach but a generalised increase in oxygen permeability across the degraded zone. Test: thumbnail press test — film that cracks or leaves a permanent indentation has exceeded design life. Response: priority feed-out rather than repair — UV-degraded film covering a large area cannot be effectively repaired with patch tape and the bale should be scheduled for immediate feed-out.
🐄 Livestock Rubbing / Chewing Damage
Appearance: Extensive tearing, stretching, and multiple breach points across a wide film area — often the most severe breach type because it affects many layers simultaneously over a large area. Cattle chewing produces ragged, large tears with film pulled away from the bale surface. This type of damage often cannot be fully repaired and the bale should be assessed for immediate feed-out. Prevention: secure livestock exclusion fencing is the only effective response — a bale damaged by livestock in the storage area indicates a fence failure requiring immediate correction.
The Repair Kit: What You Need and Why Each Item Matters
The Correct Materials for an Effective Film Repair
The effectiveness of a silage film repair depends entirely on using the correct materials. A repair made with the wrong tape will fail within days to weeks — often sooner than would have been expected from looking at it — and the bale will continue spoiling as though no repair had been made. Every inspection kit must contain the following items:
✅ Silage Repair Tape
Purpose-designed UV-resistant adhesive tape specifically for silage film repair — typically black or white, 75–100mm wide, self-adhesive on one side. Must be specified for outdoor agricultural use with UV rating. Do NOT substitute with: duct tape, PVC tape, packaging tape, masking tape, or any general-purpose adhesive tape. These alternatives have inadequate UV resistance and fail within weeks of outdoor exposure.
✅ Clean Cloth / Paper Towels
For drying the film surface around the breach before tape application. Tape applied over a wet or contaminated surface will not adhere correctly — moisture under the tape breaks the seal within days. The film surface must be dry before any repair tape is applied. In wet weather, delay the repair until the surface can be dried, or use a dry cloth to remove surface moisture immediately before applying tape.
✅ Scissors
For cutting repair tape to size. Pre-cutting a patch before approaching the bale speeds the repair and prevents contamination from multiple tape-handling steps. Cut the patch to the correct size (minimum 100mm beyond the breach in every direction) before removing the backing paper.
✅ Inspection Record Sheet
A simple written or digital record of: which bale was repaired, the date, the type and size of breach, and the location on the bale. This record allows tracking of recurring damage patterns (bird pressure from a consistent direction, handling damage on the same bale end type) and supports the decision on whether a bale has been repaired enough times to warrant priority feed-out.
❌ Materials That Must NOT Be Used for Silage Film Repair
General-purpose duct tape (fails in UV within weeks), PVC electrical tape (inadequate width and UV resistance), packaging tape (transparent film, no UV protection), masking tape (fails in moisture), aluminium foil tape (no flexibility on curved surfaces), and any tape not specifically marketed for agricultural or silage film repair. Using these materials gives the false assurance of a completed repair while the breach continues spoiling the bale behind an inadequate seal.
Step-by-Step Repair Procedure
The Correct Sequence for a Reliable Film Repair That Holds
Assess the full extent of the breach before beginning repair
Walk completely around the bale before touching the breach area. Bird peck damage almost always involves multiple holes — finding only the first and repairing it without checking for others leaves the bale with active oxygen entry points behind a false sense of completion. Check the entire top surface, both end faces, and any visible side surfaces from the inspection path. Mark every damage point before beginning the repair — a chalk mark, a small stick placed adjacent to the bale, or a visible clip on the film edge all work as temporary markers while the complete damage extent is mapped.
Clean and dry the film surface around the breach
Using a clean dry cloth or paper towels, wipe the film surface in a 20cm radius around each breach point. Remove any dirt, debris, moisture, bird droppings, or plant juice that has accumulated on the film surface. The repair tape adhesive requires contact with clean, dry film to form an effective seal — even a thin film of surface moisture or fine dust contamination significantly reduces adhesion performance. In humid or wet conditions, this step requires extra attention and the surface may need several wipes to achieve adequate dryness.
Cut repair tape to the correct patch size
The patch must extend a minimum of 100mm (10cm) beyond the breach edge in every direction. For a 10mm bird-peck hole, a 220mm × 220mm patch is the minimum — the hole is 10mm and 10cm on each side of the hole gives 100mm + 10mm + 100mm = 210mm, so a 220mm square is correct. For a 50mm linear tear, a 250mm × 280mm patch is appropriate. Cut the patch before removing the backing paper — handling the adhesive face of the tape during sizing contaminates it and reduces adhesion. Use scissors rather than tearing — a clean cut edge adheres better than a torn edge.
Apply the patch centred over the breach
Remove the backing paper from the cut patch and apply it centred over the breach point, with equal overlap on all sides. Start contact at the centre of the patch directly over the breach and press outward to the edges — this prevents air bubbles from being trapped under the patch. Press firmly across the entire patch surface, paying particular attention to the edges where adhesion failure initiates. On curved bale surfaces, ensure the patch conforms to the bale curvature rather than bridging across it — a bridging patch has reduced edge adhesion and peels more readily.
Press and burnish the entire patch
After initial application, go back over the entire patch with firm hand pressure, pressing from the centre outward. Pay particular attention to the patch edges — run a fingernail or the back of a pen along all four edges, pressing firmly into the film surface below. Edge adhesion is where most repair failures initiate; firm edge pressing immediately after application significantly extends repair life. In cold weather (below 15°C), the tape adhesive is less pliable — press more firmly and consider warming the tape in a pocket before application to improve initial adhesion.
Record, monitor, and re-inspect the repair
Record the repair details (bale ID or position, date, breach type and size, patch size applied). Re-inspect this specific bale at the next inspection visit for signs of repair tape edge lifting or re-breach adjacent to the repair. A patch that has lifted at one edge within two weeks of application suggests either inadequate surface cleaning before application or an adhesive incompatibility — remove the lifting tape, re-clean the surface, and apply a fresh patch. A bale that has been repaired three or more times should be moved to highest priority in the feed-out sequence regardless of its scheduled order.
When to Repair — and When to Feed Out Instead
The Decision Framework for Bales With Film Damage
Not every film-damaged bale should be repaired and returned to storage. Some damage situations are better addressed by immediate feed-out, either because the spoilage has already advanced too far for repair to provide meaningful benefit, or because the damage pattern indicates a film integrity problem that repair cannot reliably address. The following decision guide helps operators make this assessment correctly rather than defaulting to repair in all cases or discarding bales unnecessarily.
| Damage Situation | Action | Reason |
|---|---|---|
| Small bird-peck hole, discovered within 2–4 weeks, no visible mould | Repair | Early discovery — spoilage zone is small and stopped by prompt repair |
| Multiple bird-peck holes in a cluster, film intact otherwise | Repair all | Each hole must be individually repaired — missing one leaves ongoing breach |
| Visible mould at and around breach point | Repair + Priority Feed-Out | Repair to stop further spoilage, but move bale to highest feed-out priority — significant quality loss has already occurred |
| Large tear (>100mm) from handling equipment | Repair + Priority Feed-Out | Large breach allows rapid spoilage — repair to stop immediate oxygen entry but schedule for feed-out within 2–4 weeks |
| Generalised UV cracking over large area of film surface | Feed-Out Immediately | Cannot be effectively repaired with spot patches — entire film surface has degraded, not addressable by tape repair |
| Extensive livestock chewing / multiple large tears | Feed-Out Immediately | Damage extent exceeds repair capacity — silage likely aerobically compromised throughout outer zone |
| Bale has been repaired 3+ times over the storage period | Feed-Out Priority | Repeated damage events indicate persistent bird pressure — cumulative oxygen exposure over multiple breaches compromises overall quality |
Prevention First: Reducing the Need for Repair
The Measures That Reduce Film Damage Before It Requires Repair
Repair is a response to failure — prevention is always preferable. Operations that routinely need to repair multiple bales per inspection are managing a storage system with preventable damage sources that have not been fully addressed. The combination of correct wrap specification, active bird deterrence, secure livestock exclusion, clean storage site preparation, and correct handling technique should reduce the repair requirement to occasional events rather than a regular maintenance task. When repairs are needed more than once or twice per month in a storage site of 100+ bales, a systematic review of which damage type is most prevalent and what prevention measure addresses it directly is more effective than accepting repair as a normal management activity.
The most cost-effective preventive investment for operations with persistent bird damage is bird netting over the bale storage area. Netting with a 25mm mesh installed at sufficient height above the bale stack eliminates the top-surface bird-peck damage that is the most common breach type in Australian silage storage, converting a recurring repair requirement into a single infrastructure installation cost. For operations where netting is impractical, 8-layer wrapping on all bales stored in high bird-pressure sites provides significant additional puncture resistance against beak strike — the difference between 6 and 8 layers in terms of resistance to cockatoo beak penetration is meaningful and well worth the additional film cost per bale in affected areas. For silage baler for sale and storage advice from Australia Ever-power Forage Balers, visit the About page.
Ever-Power: Equipment and Support for the Complete Silage System
From Bale Production Through Storage Management

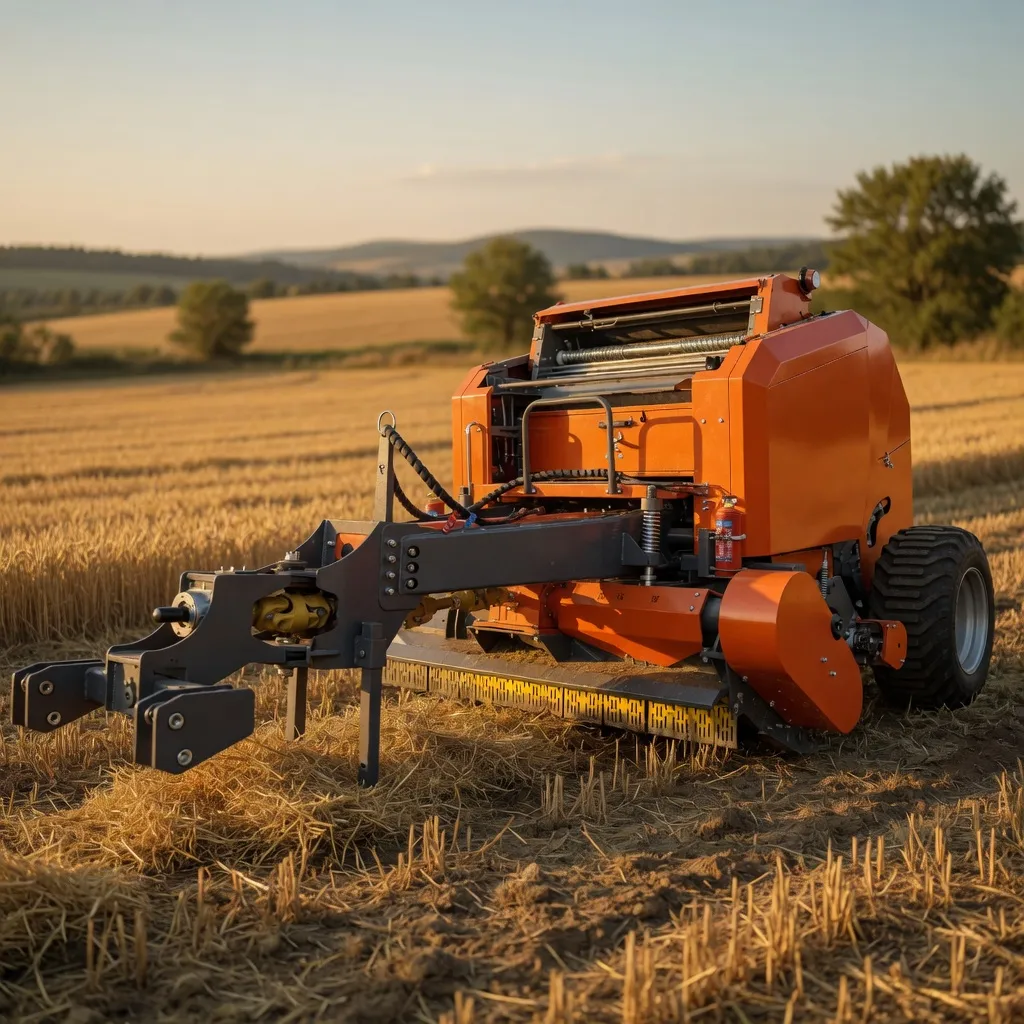
The best silage repair kit is one you rarely need — because the bales being stored were produced at sufficient density, wrapped to adequate layer count, stored on a correctly prepared site, and are protected by active deterrence and inspection routines that catch damage early. Ever-power’s variable chamber silage balers provide the production-stage density foundation that makes every subsequent management decision — wrapping, storage, inspection, and if necessary repair — more effective. Dense, firm, well-shaped bales not only resist film damage more effectively (less surface irregularity for bird-strike concentration) but also recover better from small breach events because their fast-established anaerobic internal environment limits the spoilage zone expansion rate around any given breach point. The Charlton team provides equipment advice, parts supply, and operational guidance for the complete Australian silage system.
Questions About Silage Film Repair or Storage Management?
Talk to Our Australian Silage Specialists
Charlton Industrial Area, Australia — film repair advice, bird deterrence options, and equipment recommendations for Australian dairy and beef operations.
Häufig gestellte Fragen
Common Questions About Silage Bale Film Repair
Australia Ever-power Forage Balers Co., Ltd.
📍 Charlton Industrial Area, Australia


